
How To Enable Stereoscopic 3D
Enabling stereoscopic 3D is less about a single toggle and more about aligning three layers at once: a stereo-capable content source, a compatible display pipeline, and a viewer environment that supports depth perception. This guide walks through each layer in the order they typically need to be confirmed, using 3DV Spatial Displays as the reference glasses-free 3D hardware.
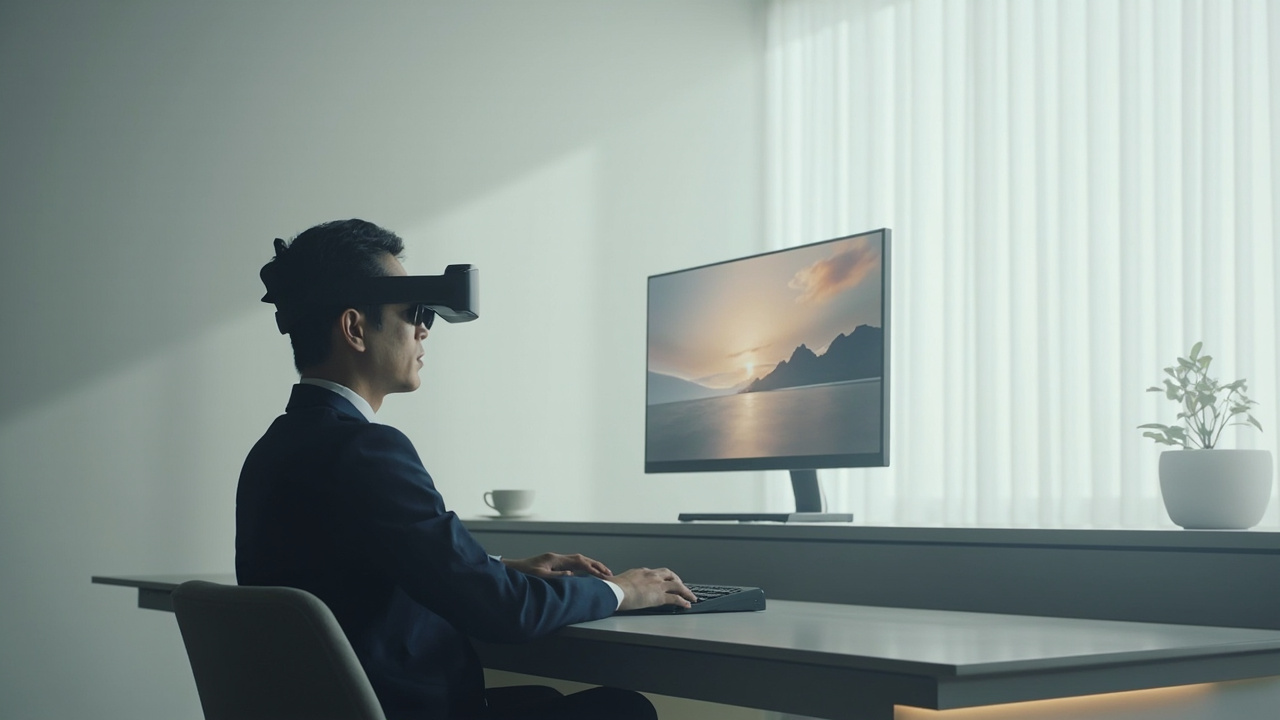
The first step in enabling stereoscopic 3D is aligning content, display mode, and viewing environment.
What enabling stereoscopic 3D actually means
Stereoscopic 3D is the practice of presenting separate left-eye and right-eye views so the viewer’s visual system can fuse them into a single image with perceived depth. To “enable” it, every part of the chain must agree on the same stereo format.
Key concepts to keep straight:
- Stereoscopic 3D — a display technique that delivers two offset views, one per eye. See the Stereoscopic 3D Technical Explainer for the broader definition.
- Autostereoscopic display — a display that delivers those two views without glasses, typically through a lenticular or parallax-barrier optical layer. See the Stereoscopic Display Technical Explainer and the Spatial 3D Display Technical Explainer for how glasses-free 3D systems implement this.
- Stereo source content — content authored or exported with explicit left and right views (commonly side-by-side, or SBS).
If any of those three pieces is missing, the result will look like a flat image, a doubled image, or a “depth-less” 3D file rather than a true stereoscopic 3D experience.
Confirm your source content can output stereo
Before touching any hardware settings, verify that the content you want to view can actually produce a stereo signal.
Content that usually works without extra work:
- SBS (side-by-side) stereo video files
- Stereo-ready 3D applications and viewers with explicit left/right camera outputs
- CAD and 3D model viewers configured with a stereo camera pair
- Medical or industrial 3D exports prepared with two offset views
- Custom 3D scenes built in Unity, Unreal, or WebGL with a stereo output mode
Content that typically needs preparation first:
- Ordinary 2D video and flat images — they have no depth offset to encode
- Single-view 3D renders captured without a stereo camera pair
- Software that only outputs a single 2D buffer per frame
If you are unsure whether your files or applications qualify, the Spatial Display Content Compatibility article and the Stereoscopic Display Software Workflow and Compatibility Guide walk through how to check and, where needed, convert content into a stereo-ready format.
A quick pre-check path:
- Confirm the file, app, or pipeline explicitly mentions stereo, SBS, left/right, or stereoscopic output.
- If it does, enable that output mode in the application’s preferences or export settings.
- If it does not, plan to re-export or rebuild the content before expecting a depth effect on the display.
Prepare your hardware and viewing environment
Stereoscopic 3D, especially glasses-free autostereoscopic 3D, is sensitive to viewer position and lighting. Preparing the environment reduces the number of false starts.
Practical preparation steps:
- Place the display on a stable surface at seated eye height for the primary viewer.
- Keep the viewing distance within the manufacturer’s recommended range — too close or too far weakens the 3D effect.
- Reduce direct light hitting the optical layer; strong reflections can wash out the stereo channels.
- Verify that any eye-tracking or head-tracking components on the display have a clear line of sight to the viewer.
- Confirm cable and input paths support the resolution and refresh rate your stereo source actually outputs.
For 3DV Spatial Displays specifically, current models are positioned as non-touch professional review monitors, so preparation focuses on viewing geometry, lighting, and input pipeline rather than touch calibration.
Enable stereoscopic 3D on a 3DV Spatial Display
Once the source content and environment are ready, enabling stereoscopic 3D on a 3DV Spatial Display follows a consistent sequence.
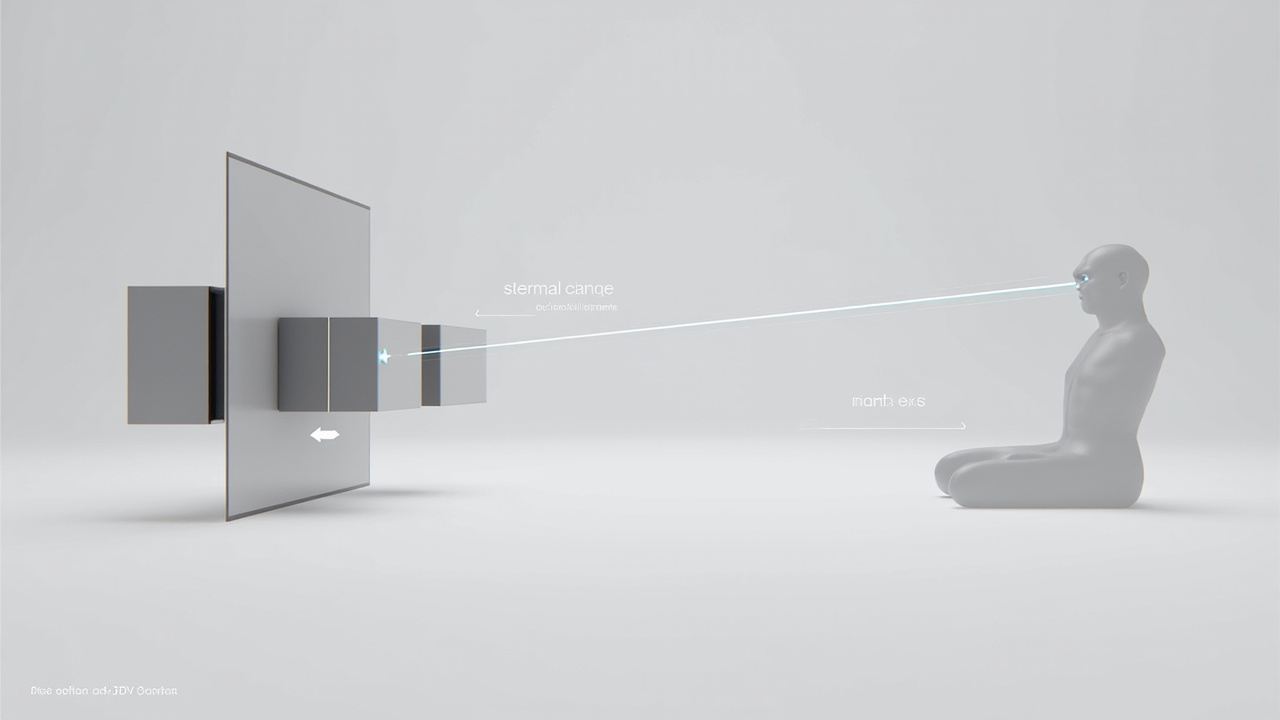
A stereo source and a glasses-free display must agree on left/right view delivery for stereoscopic 3D to work.
Step-by-step:
- Power on the display and complete any first-time setup. Let the eye-tracking or viewer-tracking system calibrate before adjusting stereo settings.
- Connect your stereo source. Use the input that matches your content — DisplayPort or HDMI for most PC-based stereo pipelines.
- Open the display’s mode or 3D settings. Select the stereoscopic 3D / autostereoscopic mode appropriate for your content type (for example, SBS stereo video, or a stereo application output).
- Match the source format. If you are playing an SBS file, confirm the display is set to SBS rather than a 2D-plus-depth or top-bottom mode. If you are using a 3D application, confirm the application’s stereo output mode matches the display’s expected input.
- Confirm eye tracking is active. On 3DV Spatial Displays, the eye-tracked autostereoscopic system needs a detected viewer before the left/right view mapping can lock in.
- Use the 2D/3D switch when available. Pro-series Spatial Displays support switching between 2D and 3D workflows, which is useful when you need to confirm that flat UI elements still render correctly before turning stereo back on.
If you do not have a physical unit in front of you yet, the Spatial Display Simulator and 3DV Spatial Player let you preview how a stereo SBS source will behave on a glasses-free 3D display, which is useful for validating content before deployment.
Validate the stereoscopic result and tune the experience
After enabling stereoscopic 3D, validate the result before assuming the workflow is correct.
What good stereoscopic 3D looks like:
- Edges and surfaces have a clear sense of depth when you move your head slightly side to side.
- Text and UI overlays either sit clearly in front of or behind the 3D content, with no doubling.
- The image stays stable as long as you remain inside the recommended viewing zone.
What to check if something feels wrong:
- Doubled or blurry image — the display mode and source format likely do not match (for example, the display expects SBS but the file is top-bottom, or vice versa).
- Depth looks flat — the source content may not actually be stereo, even if it is labeled “3D”.
- Image breaks up when you move — you are outside the optimal viewing zone, or eye tracking has lost the viewer.
- Crosstalk or ghosting — lighting or viewing angle needs adjustment, or the source resolution is below what the stereo mode expects.
A short tuning pass — verify format match, confirm viewer tracking, and re-check content — usually resolves most issues without changing hardware.
The enablement workflow has four checkpoints: source, environment, display mode, and validation.
Common limits and how to handle them
Stereoscopic 3D enablement has a few predictable limits. Planning around them avoids wasted setup time.
- Single-view content. No display setting can create real stereo from a purely 2D source. Re-export with a stereo camera pair or convert to a stereo format.
- Multiple viewers. Autostereoscopic displays are optimized around one tracked viewer at a time; secondary viewers may see a flattened or partially correct image. Plan review sessions accordingly.
- Refresh rate and bandwidth. Stereo modes effectively double the per-frame data, so the input pipeline must support the resolution and refresh rate the stereo mode needs.
- Software without stereo output. Some 3D viewers and design tools do not expose a stereo camera. Use the Stereoscopic Display Software Workflow and Compatibility Guide to identify which tools can be configured, and which need a replacement or middleware layer.
- Viewer-specific vision differences. A small number of viewers may struggle to fuse stereo images regardless of display settings; this is a viewing factor, not a configuration fault.
Next steps and support routes
If the workflow above resolves cleanly, you are ready to use stereoscopic 3D in day-to-day review. If you are still evaluating hardware, or your content does not yet output stereo, the following routes keep the decision grounded.
- Validate content first with the Spatial Display Content Compatibility check and the Spatial Display Simulator.
- Preview SBS playback through the 3DV Spatial Player before configuring a production environment.
- Match the model to your workflow using the Display Selector, which accounts for whether you need a dedicated 3D station or a mixed 2D/3D Pro setup.
- Plan a deployment with the Ask Before Ordering support path, especially for medical visualization, industrial inspection, or CAD review teams with strict content and IT requirements.
Enabling stereoscopic 3D is most reliable when the content, the display mode, and the viewing environment are aligned in that order. Confirm the source first, prepare the environment, then enable the display’s stereoscopic mode, and you will spend less time troubleshooting and more time reviewing in real depth.