
3D anatomy visualization
Prepared anatomy models and imaging-derived visuals can be presented with clearer on-screen depth when teams need to explain orientation and spatial relationships.
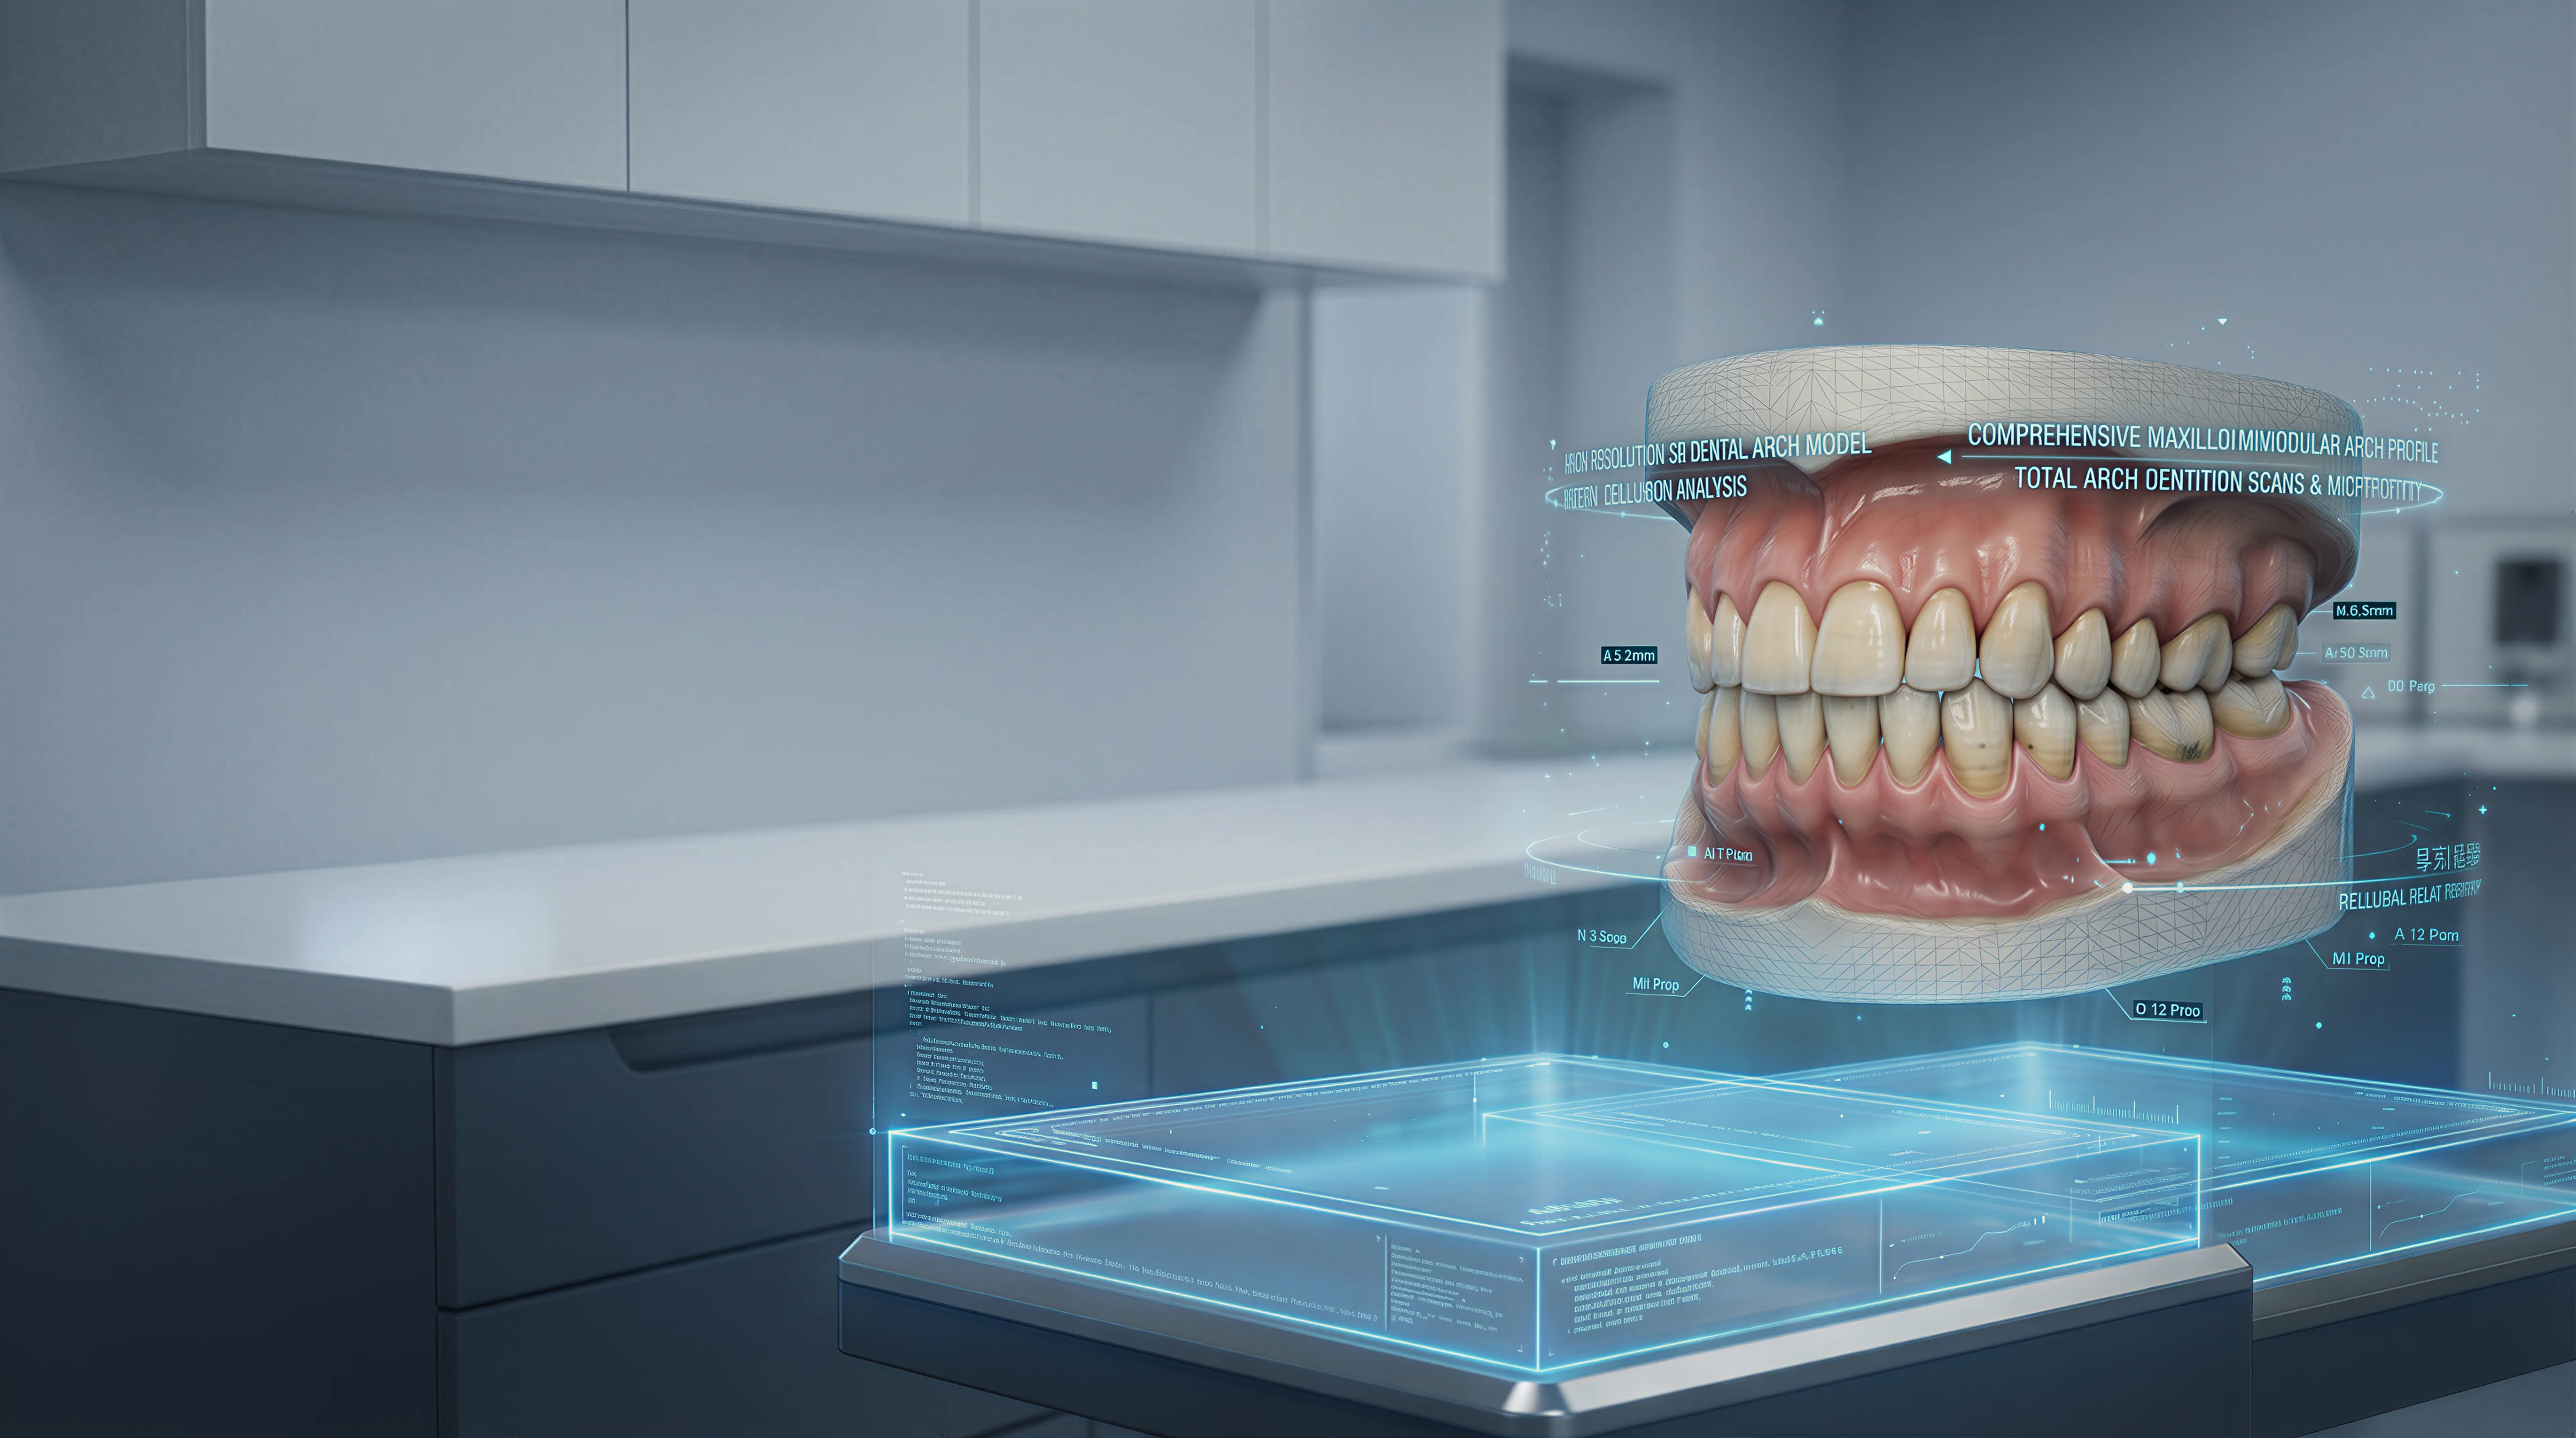
Solutions / Spatial 3D / Medical
For many medical teams, the challenge is not producing 3D visual material. It is explaining that material clearly, on a shared screen, in a way that supports training and discussion.
Glasses-free 3D adds visible depth to prepared medical visuals, anatomy education, demonstrations, and training workflows without asking the room to move into a headset-based setup. That makes it easier to place an autostereoscopic display into existing education and communication routines.
3DV products are not medical devices and are not FDA-cleared for diagnostic interpretation, treatment decisions, surgical use, or clinical navigation. Use them for visualization, education, training, demonstration, and team review unless a separately validated regulated workflow applies.
Common Uses
Prepared anatomy models and imaging-derived visuals can be presented with clearer on-screen depth when teams need to explain orientation and spatial relationships.
Anatomy, structures, and spatial context can be discussed on one shared display without positioning the product as a diagnostic or decision device.
Anatomy teaching, simulation review, and skill development benefit when spatial relationships are easier to explain to learners on a shared display.
Shared review with colleagues becomes more efficient when everyone in the room can read the same structures without mentally reconstructing them from multiple flat views.
Prepared visual material can be explained more clearly when the display itself helps show depth, structure, and orientation.
Dental and aesthetic teams can present facial structure, orthodontic change, or prepared visual proposals when the material needs to be understood visually.
Device concepts, model fit, surrounding anatomy visuals, and training context can be demonstrated when spatial understanding matters for education.
Detailed View
The value is usually highest when teams already have meaningful 3D content, but the current review step still depends on flat screens, repeated explanation, or too much mental reconstruction.
Depth on screen helps viewers judge front-to-back relationships faster, which is especially useful when cases involve layered anatomy, narrow pathways, or structures that are hard to explain from static slices alone.
Many medical education and communication workflows are collaborative. Discussion, teaching, and explanation often happen around a display, so a solution that works without personal wearables is easier to place into existing rooms and routines.
In dental, orthodontic, and aesthetic consultation settings, prepared visual material is easier to discuss when both clinician and patient can see form, structure, and expected change more directly on the same screen.
The best starting point is not to replace every screen. It is to identify the review step where spatial understanding matters most, then add a display mode that improves interpretation without making staff change how they already work.
Why Teams Evaluate It
What Good Deployment Starts With
Primary use
Choose the first workflow carefully: visualization, teaching, case discussion, dental consultation, patient communication, or demonstration. The clearest use case usually creates the best evaluation result.
Content path
Confirm how prepared 3D visual material, simulation output, or exported content reaches the display today, and whether the team needs a specific workstation setup.
Room fit
Check placement, viewing distance, ambient light, and whether the screen is used at a workstation, in a meeting room, or as part of a teaching environment.
Viewer model
Decide whether the display is mainly for one specialist, a small team, or a wider group. Shared review requirements affect how the workflow should be tested.
Next Step
Start with the medical education or communication workflow where spatial understanding already slows explanation. Then test the display with your own visual material, your own software path, and the people who actually need to use it.
Talk to sales
Share your basic contact details and 3DV will follow up with the right demo or evaluation path.
Required: name, company, and business email. Everything else can wait until the sales reply.
Thanks - your request has been sent.
A 3DV sales specialist will reply with the right next step.