
3D X Ray Machine For Electronics: A Spatial Review Workflow Guide
When electronics teams search for a 3D X ray machine for electronics, they are usually not looking for a single piece of hardware. They are looking for a workflow: capture a high-resolution volumetric scan of a PCB, BGA, or component, then review the resulting stack-up, voids, and hidden joints with real depth. This guide explains how that workflow fits together and where spatial 3D review adds value for QA, NDT, and failure-analysis teams.

Spatial 3D review adds depth perception to X-ray volume inspection without VR headsets.
What Buyers Mean by a 3D X Ray Machine for Electronics
In electronics inspection, the phrase “3D X ray machine” almost always refers to a microfocus or nanofocus X-ray inspection system that produces volumetric, slice-based data rather than a flat 2D radiograph. Typical buyer intents include:
- BGA and QFN inspection — checking solder ball coplanarity, head-in-pillow defects, and void percentages.
- Through-hole and press-fit review — verifying barrel fill, pin presence, and barrel crack detection.
- Failure analysis — tracing lifted pads, broken traces, and wire-bond issues under stacked components.
- Counterfeit and authenticity checks — comparing die dimensions, lead frames, and internal die structures against known-good parts.
- Process control — quantifying voiding trends, solder paste behavior, and reflow consistency across lots.
The capture side is well understood: a tube, a manipulator stage, a flat-panel or image intensifier detector, and reconstruction software. The part that is less standardized is the review step — how engineers, technicians, and program managers actually look at the reconstructed volume together and make a call.
Where a 3D X Ray Fits in the Electronics QA Workflow
A typical electronics workflow built around a 3D X ray system has five stages:
- Program setup — define the part, defect criteria, acceptance thresholds, and pass/fail limits.
- Scan acquisition — set kV, current, magnification, number of projections, and rotation steps on the X-ray system.
- Reconstruction — convert the projection series into a voxel volume using CT or tomosynthesis software.
- Defect review — a trained operator inspects slices, oblique planes, and rendered volumes.
- Reporting and disposition — annotate findings, attach evidence, and route the lot to release, rework, or scrap.
Steps 1–3 are dominated by the X-ray system itself. Steps 4–5 are dominated by how the volume is reviewed. This is where display and collaboration choices start to matter.
How Spatial 3D Review Adds Value After the Scan
A reconstructed X-ray volume is intrinsically three-dimensional. Most review stations still present it on a flat 2D monitor, with the operator scrolling through slices or rotating a model with a mouse. That works, but it leaves depth perception to the viewer.
Spatial 3D review — using a glasses-free autostereoscopic display such as a 3DV Spatial Display — changes the review step in three practical ways:
- Real depth in the volume. Voids, cracks, and bridge defects have a spatial location inside the stack. Seeing them with stereoscopic depth makes it easier to judge whether a solder ball is collapsed, whether a crack propagates through a barrel, or whether a void cluster sits under a die edge.
- Shared observation without headsets. A QA lead, process engineer, and supplier quality contact can review the same volume at the same time on a monitor-style display, without strapping on VR headsets or polarized glasses. This fits existing lab benches and review rooms.
- Stereo-ready content feeds the workflow directly. CT and tomosynthesis reconstructions can be exported as side-by-side stereo renders, stereo image pairs, or 3D model viewers with stereo camera output. A Spatial Display is built to consume that kind of content, so the existing reconstruction pipeline can be reused.
The 3D X ray system still owns the physics of capture. The spatial display owns the depth of review.
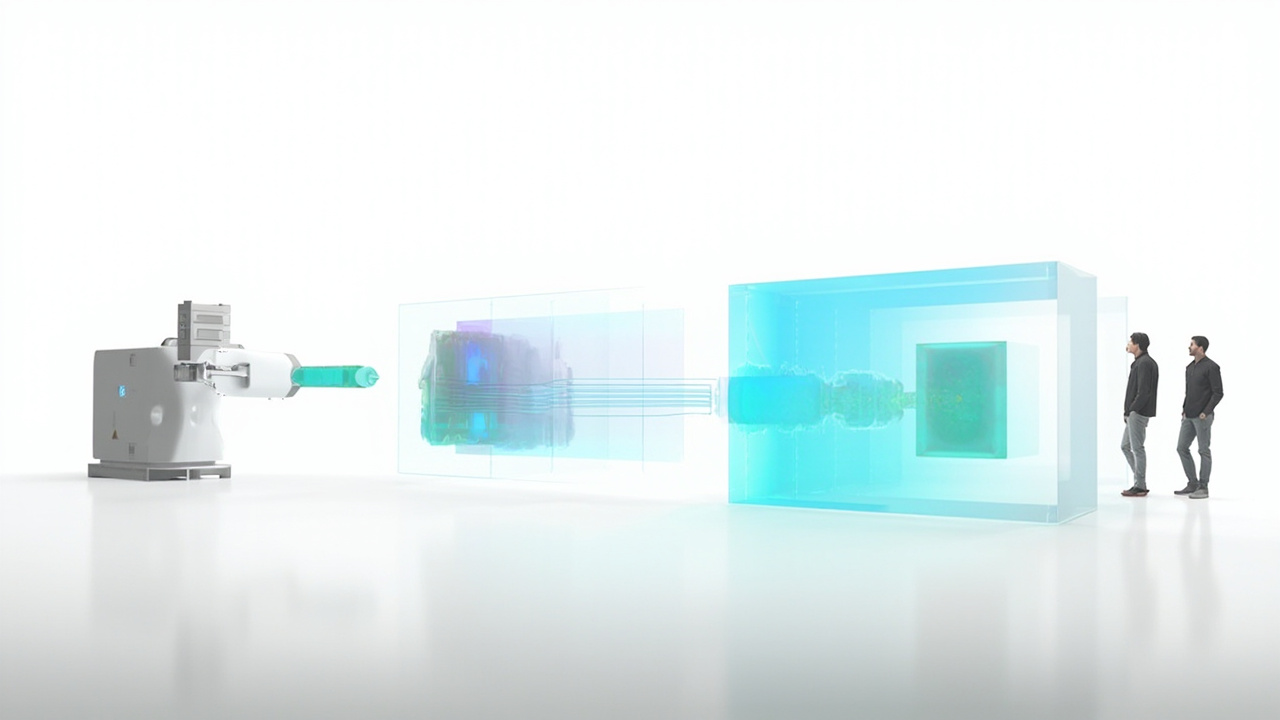
From microfocus X-ray capture to reconstructed volume to glasses-free spatial review.
Workflow Fit: Source Content, Stereo Output, and Viewer Setup
For an electronics team to evaluate spatial review seriously, three compatibility questions matter most.
1. Can the reconstruction software export stereo or 3D-ready content?
Most industrial CT and microfocus X-ray packages can output:
- Side-by-side (SBS) stereo renders of the volume
- Animated orbit or fly-through sequences suitable for stereo playback
- Standard 3D model formats that a stereo viewer can pick up
If your reconstruction software already supports any of these, a Spatial Display can usually consume the output directly.
2. What does the review station look like?
Spatial review works best in a dedicated review setting rather than a shared production bench:
- Stable lighting that does not wash out the display
- A viewing distance appropriate for the display size (for example, roughly arm’s length for a 27” or 32” model)
- Enough desk space for a keyboard, mouse, and reconstruction software workstation alongside the display
3. How many people need to see depth at once?
Spatial displays are optimized for a primary viewing position with eye tracking. For a QA lead and an engineer reviewing together, a 27” or 32” model in a small group setting is usually a better fit than a single-operator 14” setup. If the workflow is mostly one engineer at a time, the 15.6” Pro model can be a practical portable option.
These questions map closely to the broader content compatibility logic covered in the Content Compatibility Guide.
Model Fit: Pro vs Essential for Electronics Labs
3DV’s Spatial Display line splits into two series, and the choice matters for inspection labs that switch between reconstructed X-ray volumes, datasheets, and standard 2D tools.
| Lab situation | Stronger fit |
|---|---|
| Display is dedicated almost entirely to 3D volume review | Essential series (14” or 32”) |
| Same station is used for 2D datasheets, work instructions, ERP screens, and 3D volumes | Pro series (15.6” or 27”) |
| Engineers review alone at variable desks | 15.6” Pro |
| Cross-functional review with QA, process, and supplier teams | 27” Pro or 32” Essential |
| Lab needs a single monitor replacement that still does real 2D work | 27” Pro |
Pro models support smoother switching between 2D workstation use and 3D volume review. Essential models are a better fit when the display is essentially a dedicated 3D review screen and 2D use is secondary.
The Display Selector route walks through these trade-offs in more detail.
Limits, Practical Constraints, and What to Prepare
Spatial review is a strong fit for electronics X-ray workflows, but it is not magic. A few honest limits are worth naming before a team invests.
- Capture quality still dominates. A noisy, under-sampled reconstruction will look poor on any display. Spatial review exposes depth; it does not invent resolution that the scan did not capture.
- Stereo export is not always one click. Some reconstruction packages need a small pipeline change to output SBS stereo or stereo-ready renders. Plan for a short integration step.
- One primary viewer per display. Spatial Display tracking is tuned for a primary viewing position. Group reviews work, but the depth experience is best for the engineer directly in front of the screen.
- It is not a headset replacement for every task. For long solo inspection sessions where an engineer is deep in slice-by-slice analysis, a high-quality 2D workstation display can still be the right primary tool. Spatial review is best added alongside it, not as a wholesale replacement.
Preparing source content, confirming stereo output, and clarifying review-room conditions up front prevents most of the friction teams run into.
Next Steps for QA, NDT, and Failure-Analysis Teams
A practical rollout for a team evaluating a 3D X ray machine workflow with spatial 3D review usually looks like this:
- Confirm your reconstruction software can output stereo or SBS content. This is the single biggest compatibility gate.
- Pick a target part family — for example, BGAs on a server board, or press-fit connectors on an automotive harness — and prepare one annotated volume as a pilot.
- Match the display to the review setting using the Display Selector or the Spatial Display product page, and read the Industrial Inspection solution for context.
- Request a workflow review through Ask Before Ordering so the 3DV team can confirm content compatibility and model fit before purchase.
Used this way, a 3D X ray machine for electronics stops being just a capture tool and becomes the front end of a depth-aware review workflow that QA, NDT, and failure-analysis teams can actually share.
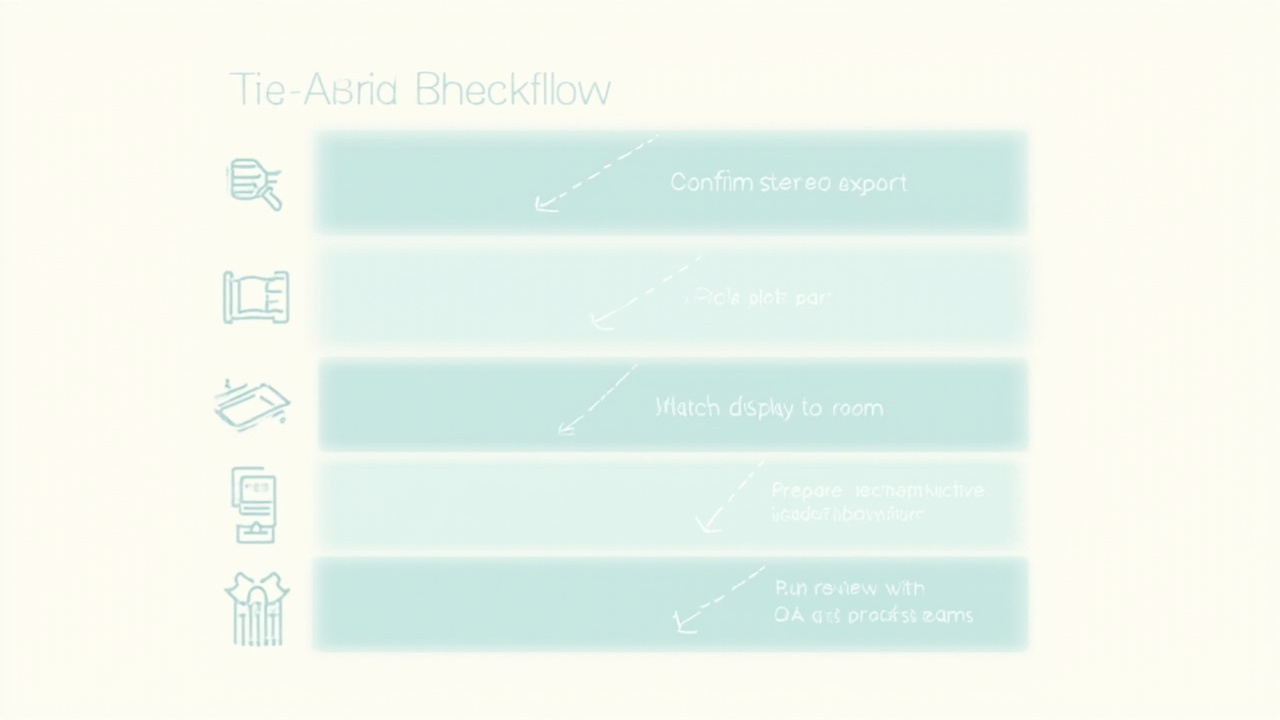
A short preparation checklist helps electronics teams avoid common compatibility issues.