
What Monitors Do Radiologists Use
Radiologists read medical images on specialized medical-grade displays rather than ordinary office monitors. In a typical reading room you will see diagnostic displays for primary interpretation, clinical review displays for follow-up and consultation, and increasingly 3D-capable or glasses-free 3D spatial displays for case review, teaching, and surgical planning workflows. The exact mix depends on the imaging modality, the size of the team, and whether the workstation is used for primary diagnosis or for collaborative review.
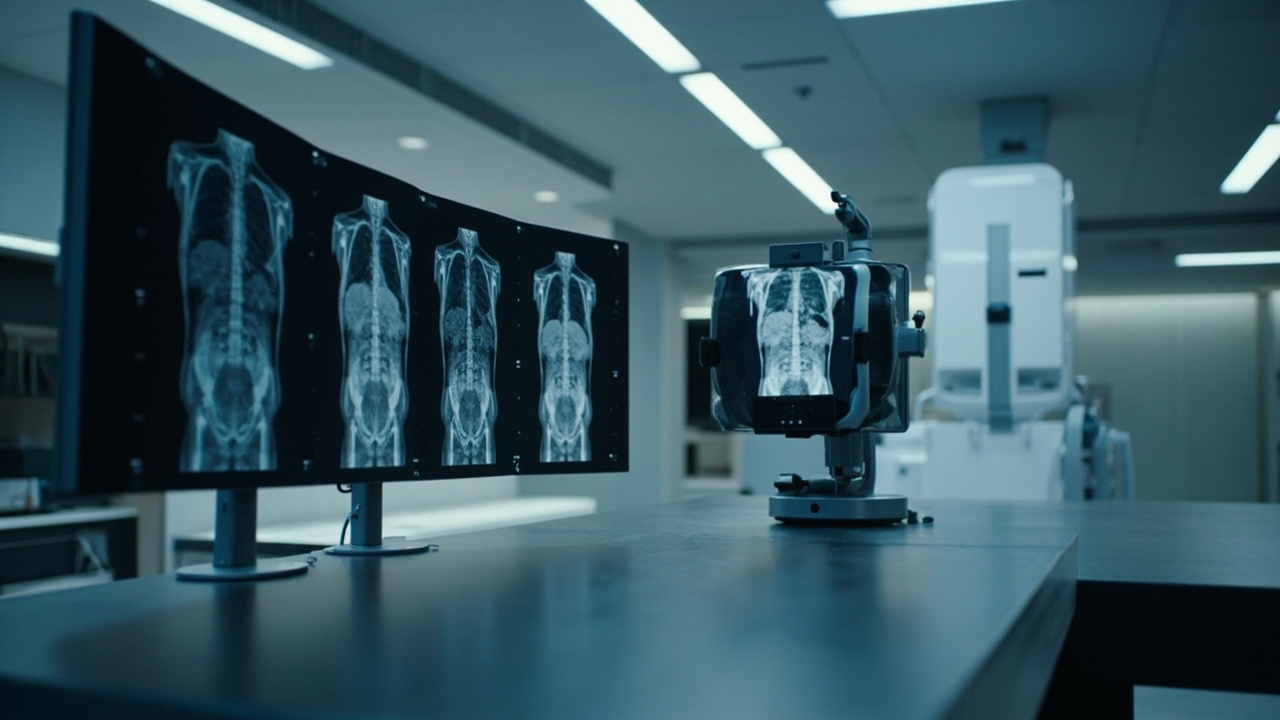
Diagnostic monitors handle primary reads, while a glasses-free 3D display supports case review and teaching.
This article walks through the categories of monitors radiologists use, the specifications that matter, and where eye-tracked, glasses-free 3D displays such as the 3DV Spatial Display family fit into a modern reading and training setup.
Direct answer: what monitors radiologists use day to day
Most radiology departments run a layered monitor stack:
- Primary diagnostic monitors for the radiologist who signs the report. These are usually high-brightness grayscale or color LCD panels, commonly 3 megapixels to 8 megapixels, calibrated to radiology standards such as DICOM Part 14 grayscale display function.
- Clinical review monitors for residents, fellows, referring physicians, and tumor boards. These are typically mainstream color medical or prosumer-grade displays used for non-primary interpretation.
- Worklist monitors for the PACS or RIS client, often standard office displays placed beside the diagnostic monitors for navigation, dictation, and reporting.
- Specialty displays for advanced visualization. Examples include 3D-capable stereoscopic monitors, large-format color displays for multi-modality fusion, and review-room panels that prioritize multi-observer discussion rather than single-reader calibration.
The term “radiologist monitors” almost always refers to the diagnostic pair at the center of the reading station. Everything else supports the reading workflow around it.
Diagnostic vs clinical vs review monitors
It helps to separate the monitor roles clearly, because each has a different job and a different cost profile.
Diagnostic monitors
A diagnostic monitor is the panel the radiologist reads from when forming a primary interpretation. Common traits:
- High luminance, often 400 to 1000 cd/m² calibrated, so subtle low-contrast findings remain visible.
- DICOM Part 14 grayscale calibration, with quality-assurance routines that log luminance, uniformity, and conformance.
- Anti-reflective glass, controlled off-axis behavior, and stable color or grayscale response across the screen.
- Landscape or dual-landscape configurations, sometimes paired as a two-monitor or four-monitor array so multi-sequence studies can sit side by side.
This is the category most people mean when they ask “what monitors do radiologists use.”
Clinical review monitors
Clinical review monitors are used by clinicians who look at images but do not produce the primary report. They are acceptable for surgical planning review, referring-physician lookup, and teaching, but they are not approved for final sign-out in most institutions. They are usually:
- Mainstream color medical or prosumer panels
- Calibrated to a softer DICOM curve or to a general clinical profile
- Lower brightness than diagnostic panels, with a focus on day-to-day comfort
Teaching, tumor board, and multi-observer review displays
This is the category where newer forms of display technology start to appear. In a tumor board or surgical planning meeting, several people look at the same image at the same time. The hardware needs to support:
- Consistent appearance from multiple viewing angles
- Large enough physical size for a group to read together
- Stereo or 3D capability when the case involves volumetric CT, MRI, or interventional planning
Glasses-free 3D spatial displays are designed for this collaborative review role, not as a replacement for a calibrated diagnostic monitor.
Display specifications that matter for radiology
For any monitor used in a radiology context, the same set of specifications tends to drive the decision:
- Resolution and pixel pitch. Higher resolution supports fine detail. Mammography and chest imaging often rely on 5 megapixel or 8 megapixel panels so microcalcifications and small nodules are not lost.
- Luminance and contrast ratio. Diagnostic monitors push high calibrated brightness so low-contrast lesions remain visible. Clinical review monitors operate at lower brightness for comfort.
- Grayscale and color depth. DICOM-calibrated grayscale is essential for primary diagnosis. Color depth matters for fusion imaging, pathology overlays, and 3D volume rendering.
- DICOM conformance and QA tooling. The monitor should ship with a DICOM Part 14 calibration profile and a quality-control workflow that the medical physics team can audit.
- Ergonomics and footprint. Reading stations have to support long shifts, dictation microphones, and clean cable management. Monitor arms, height adjustment, and uniform dual-monitor alignment are standard expectations.
For 3D-ready review, additional factors enter the picture: stereo output format, viewer-count (single observer vs multi-observer), whether glasses are required, and how source content is prepared.
Where glasses-free 3D spatial displays fit in
Glasses-free 3D spatial displays are not a substitute for a primary diagnostic monitor. They are a fit-for-purpose review surface for cases where depth perception, shared observation, or immersive teaching adds value.
Common use cases in radiology and adjacent medical workflows:
- Surgical planning review. Volumetric CT and MRI reconstructions become easier to interpret when depth cues are preserved, especially for complex anatomy, vascular trees, or fracture patterns.
- Anatomy teaching and resident education. Multiple trainees can look at the same spatial display without wearing stereo glasses, which keeps the conversation natural and visible.
- Tumor boards and multidisciplinary review. A glasses-free 3D monitor on the conference table allows several clinicians to evaluate the same volume without passing a headset around.
- Microscope and pathology correlation. When a stereo microscope or 3D pathology volume is the source, an autostereoscopic display preserves the depth context that a flat panel would flatten.
Relevant 3DV product fit for these workflows:
- The 3D Spatial Display family from 3DV uses eye-tracked autostereoscopic technology, so depth is delivered without 3D glasses or VR headsets. Current positioning is non-touch, so purchases should be planned around a review and discussion role rather than an interactive touch workflow.
- The 3D Spatial Microscope sub-line extends the same glasses-free 3D review approach to microscope workflows, which is relevant for path-radiology correlation, education, and shared lab review.
- A short buyer-guide framing fits the 3DV product family: Pro models suit teams that frequently switch between high-quality 2D use and 3D review, while Essential models fit setups where the display is mainly a dedicated 3D spatial monitor.
It is important to keep the medical framing conservative. 3DV displays are positioned for visualization, review, education, training, communication, and workflow evaluation. They are not represented as diagnostic-grade panels for primary interpretation, and radiology departments should keep their existing DICOM-calibrated diagnostic stack in place.
Reading room workflow and reading habits
How a monitor is used matters as much as what is on the spec sheet. Common reading-room patterns include:
- Single-reader, dual-monitor setup. Two diagnostic panels side by side, with a worklist monitor below or to the side. This is the standard configuration for cross-sectional imaging.
- Single-reader, single large monitor. A 32-inch or larger diagnostic panel replaces the pair, freeing desk space and simplifying ergonomic alignment.
- Pair reading and double reading. Two readers review the same study sequentially, which requires stable display behavior across panels and consistent calibration.
- Multi-observer review. Tumor boards, surgical planning meetings, and teaching rounds. Here, a large, consistent, and ideally 3D-capable display helps the group converge on the same interpretation.
For 3D-capable review, the workflow is usually:
- Acquire or render the volume in a viewer that can output stereo or side-by-side (SBS) content.
- Send the stereo feed to the glasses-free 3D display.
- Review with the team, annotate on a separate 2D monitor if needed, and capture decisions into the radiology report.

A stereo-ready viewer feeds SBS or stereo output to a glasses-free 3D spatial display for collaborative review.
Limitations and trade-offs to plan around
Even a strong radiology monitor stack has trade-offs that are worth pricing in:
- Calibration drift. Diagnostic monitors need regular QA. Schedules, calibration tools, and medical physics review should be planned before the hardware is installed.
- Cost per seat. Eight-megapixel diagnostic panels and matched calibration probes are expensive. A useful planning move is to limit diagnostic-grade panels to readers who sign reports, and use clinical review monitors for everyone else.
- Viewer count vs single-user design. Many 3D-capable displays are designed for one viewer in a fixed head position. Glasses-free 3D displays with eye tracking handle a moving single observer, but a tumor board with eight people still needs a workflow that rotates who is “at” the display.
- Content readiness. A 3D spatial display will only show depth if the source content supports stereo output. Standard PACS, RIS, and 2D-only viewers will only ever deliver flat images. The Content-to-3D Path Checker and the spatial display content compatibility guide on 3DV.io are useful planning tools.
- Non-touch assumption. Current 3DV Spatial Display products are positioned as non-touch. If the workflow requires in-room on-screen annotation, pair the display with a keyboard, mouse, or separate tablet rather than expecting touch input.
These are not blockers, but they shape a realistic deployment plan.
Planning your own monitor stack and next steps
A practical way to scope a monitor stack for a radiology reading room or a teaching space:
- Map the reading roles. Decide who needs a diagnostic monitor, who needs a clinical review monitor, and who needs collaborative review capability.
- Match modality to resolution. Mammography, chest, and small-part imaging usually justify higher-resolution diagnostic panels. CT, MRI, and ultrasound are more forgiving but still benefit from calibration.
- Plan the review surface separately. A 3D spatial display works best when it is positioned as a dedicated review, teaching, or planning surface, not as the primary diagnostic panel.
- Confirm content compatibility. Before buying a 3D display, verify that the viewers, PACS export tools, and 3D rendering software in the workflow can output stereo or SBS content. The 3DV compatibility routes are a useful starting point.
- Engage the physics team early. Medical physics, IT, and clinical leads should review calibration, network, and acceptance testing plans together.
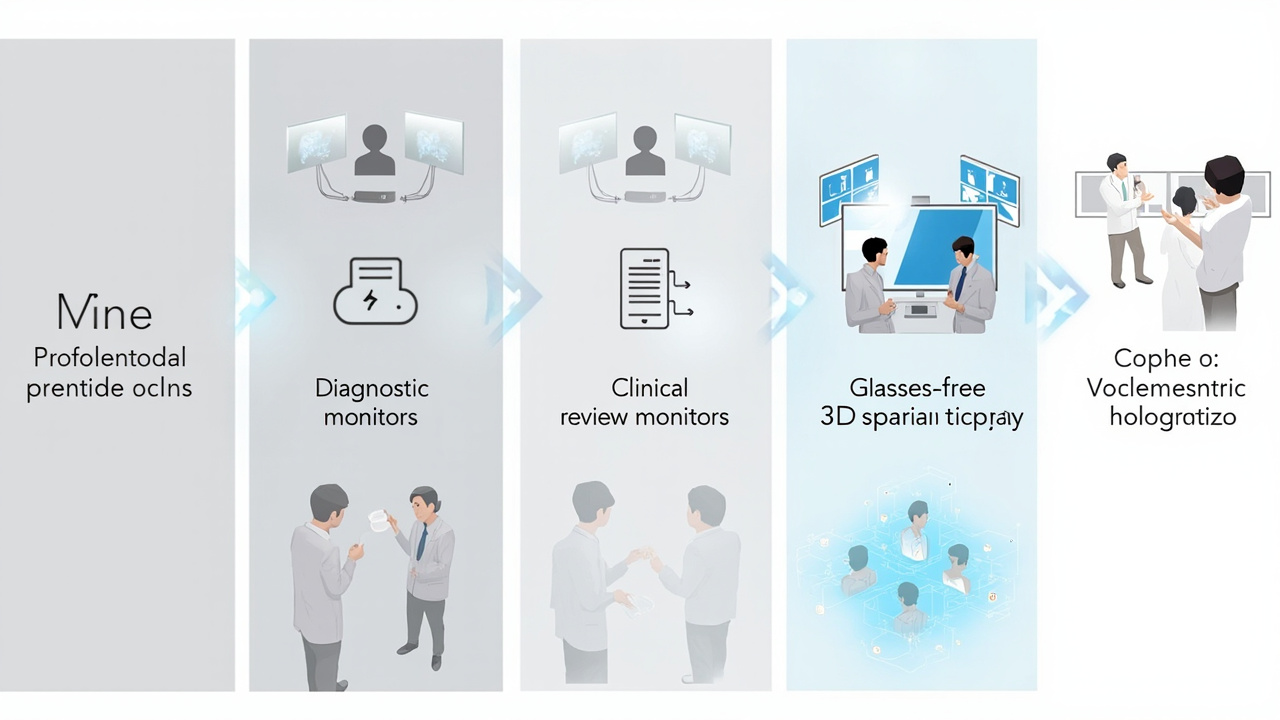
Match reader role to display type: diagnostic panels for sign-out, clinical panels for review, and 3D spatial displays for teaching.
If a team is evaluating where glasses-free 3D fits, the most efficient next step is to align the workflow scenario with the right 3DV product line, then run a content compatibility check before committing to a model. The 3DV Ask Before Ordering route and the Display Selector are useful entry points for that conversation, especially when the use case sits between radiology, surgical planning, and teaching.