
How Can I Create My Own Stereoscopic Images
Creating stereoscopic images is a workflow question, not a single click. It means producing two carefully aligned views — one for the left eye and one for the right eye — so that a display can deliver depth instead of a flat picture. The good news is that the process is well understood, and it fits naturally into a normal review pipeline if you plan for stereo output from the start.
This article walks through how stereoscopic images work, the practical ways to create them, and how to prepare them so they display correctly on a glasses-free 3D Spatial Display.
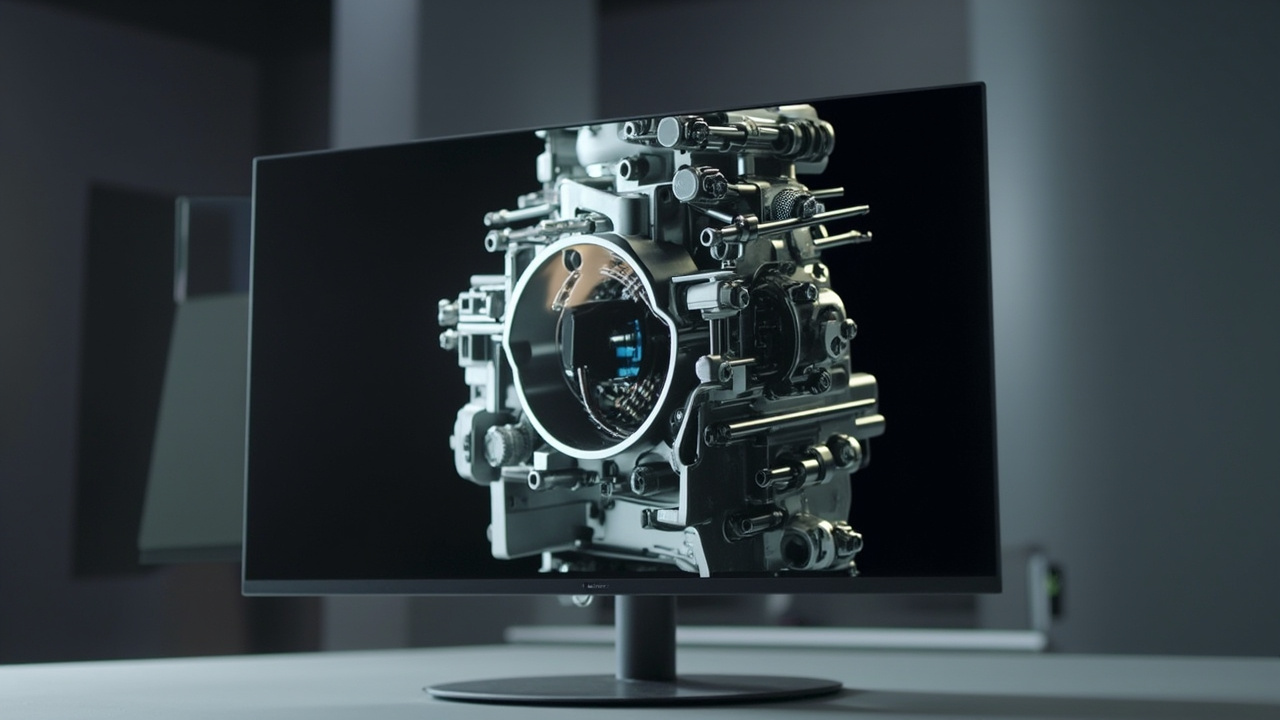
Stereoscopic images are left-view and right-view pairs. On a glasses-free spatial display, the two views are delivered to the corresponding eyes to produce real depth without headsets or 3D glasses.
How stereoscopic images work
A stereoscopic image is not a single picture. It is a pair of images captured or rendered from two slightly different viewpoints, separated by roughly the average human interpupillary distance. When the left eye sees the left view and the right eye sees the right view, the brain fuses them into a single percept with real depth.
For digital delivery, the pair is usually packaged in one of a few standard layouts:
- Side-by-side (SBS): the left and right views sit next to each other in a single frame, each at half width.
- Top-bottom / over-under: the views stack vertically, each at half height.
- Separate left and right files: two files labeled L and R that the player synchronizes.
- Interlaced or anaglyph formats: less common for professional review and generally not preferred for glasses-free displays.
If you are new to the category, the Stereoscopic Images: Technical Explainer article provides the underlying concept reference. For a closer look at full-color stereo image delivery, the Stereoscopic 3D Images: Technical Explainer is the next step.
Methods to create stereoscopic images
There are three practical paths, and the right one depends on whether your subject is real or virtual.
1. Capture a real scene with a stereo camera setup
The most direct method. You photograph or record a real subject from two positions offset horizontally by the interocular baseline.
Common approaches:
- A purpose-built stereo camera or stereo rig with two matched lenses and synchronized shutters.
- Two identical cameras mounted on a sliding bar with fixed baseline, triggered together.
- A single camera moved between two positions, which works for still subjects but not for motion.
Key requirements for a clean stereo pair:
- Both cameras share the same focal length, exposure, white balance, and focus distance.
- The baseline is stable and appropriate for the subject distance. Too wide and the result looks exaggerated; too narrow and depth appears flat.
- Both views are aligned vertically and rotationally. Small roll or vertical mismatch causes viewer discomfort.
2. Render a stereo pair from 3D software
For CAD models, product designs, industrial CT, medical visualizations, or any computer-generated scene, the cleanest path is to render two views directly from the 3D scene.
Most professional tools — CAD viewers, DICOM viewers, Unity, Unreal, WebGL viewers, and visualization pipelines — can output two camera angles simultaneously. The left camera and the right camera sit at the same scene origin with a small horizontal offset.
Advantages over capture:
- Perfect geometric alignment because both views share the same 3D scene.
- Full control over baseline, convergence point, and depth range.
- Reusable: render once, adjust the stereo parameters later if the display setup changes.
For software selection and pipeline details, the Stereoscopic Display Software Workflow and Compatibility Guide is the reference walkthrough.
3. Convert a 2D image to stereo
Tools exist that estimate depth from a single 2D image and synthesize a right-eye view. Quality varies. They are useful for quick references, demos, and previews, but they are not a substitute for a true stereo pair when depth accuracy matters for review.
Use this path for drafts and educational material. For inspection, design review, or any medical or industrial visualization where depth carries meaning, render or capture a real stereo pair instead.
Preparing stereo pairs for display
Once you have a left view and a right view, a few preparation steps determine whether the result will display correctly.
- Align the pair. Rectify vertical, rotational, and scale differences. Mismatched alignment is the single most common cause of eye strain.
- Choose the output layout. Side-by-side is the most widely supported layout for glasses-free spatial displays. Confirm whether the target display expects SBS half-width, full SBS, or separate L/R files.
- Match resolution and aspect ratio. Both views must share exact pixel dimensions. A common mistake is exporting the left view at one resolution and the right at another.
- Check color and exposure parity. Identical scene, identical processing. Disparity in brightness shifts depth cues and can fatigue the viewer.
- Validate in a player before delivery. The Spatial Display Simulator and the 3DV Spatial Player (SBS) let you preview side-by-side stereo files in the browser and confirm the pair looks correct.
- Run a compatibility check. The Content-to-3D Path Checker maps your prepared file against what the target display expects.
If your images are part of a broader review pipeline, also read the Spatial Display Content Compatibility article to understand how stereo image files fit alongside CAD, DICOM, and video sources.
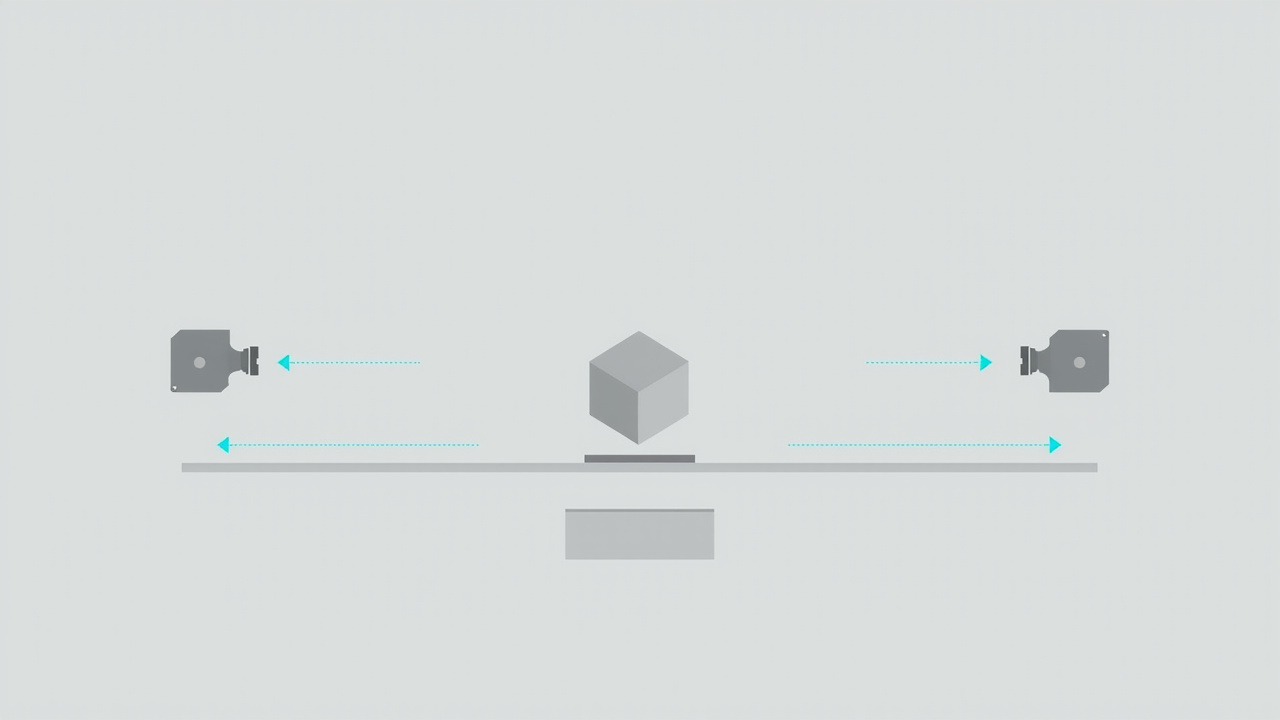
A stereo pair is produced by capturing or rendering the same subject from two viewpoints offset horizontally. The left and right views are then combined into a side-by-side layout for delivery.
Workflow fit with glasses-free spatial displays
Stereoscopic images you create are exactly the kind of source content that glasses-free 3D Spatial Displays are designed to consume. An autostereoscopic display delivers the left and right views to the corresponding eyes without glasses or headsets, using eye tracking and a directional optical layer.
For most 3DV Spatial Display models, the practical expectations are:
- Source content must already be stereo. A flat 2D image will display as a flat image, not as depth.
- Side-by-side is the most reliable delivery format. Top-bottom and separate L/R files are also usable depending on the player.
- Output resolution should match the display’s stereo resolution, not just its 2D resolution. A half-width SBS frame at the display’s native resolution gives the cleanest result.
- A single viewer position is typical for current models. Plan review sessions around one primary viewer.
If the source content is not yet stereo, that is the gap to close before display evaluation. If it is already stereo, the workflow reduces to file prep, layout choice, and validation.
Requirements and limits
A short, honest list of what to plan for:
- A stereo source. Either a stereo camera setup or 3D software that can output two views. Single-camera, single-view sources need conversion, which lowers quality.
- Aligned, matched views. Identical exposure, color, focus, and resolution. Vertical alignment within a pixel or two.
- A known output layout. Confirm SBS, top-bottom, or separate files before exporting. Do not assume the display will reformat for you.
- A validation step. Preview in a simulator or SBS player before sending to a display.
- Display model selection. Current Spatial Display models are non-touch. Plan input through keyboard, mouse, or compatible 3D software rather than touch interaction.
- Viewer position. Most current models are optimized for a single viewer at the tracked eye position. Multi-viewer review needs a different plan.
- Subject motion. Stereo capture of moving subjects requires synchronized shutters and a rigid rig. Single-camera slide methods work only for still subjects.
These are workflow limits, not blockers. Most professional review teams already meet them with the tools they use for CAD, DICOM, or industrial visualization.
Next steps
A reasonable order of operations for a team creating stereoscopic images for the first time:
- Decide whether your source is real (capture) or virtual (render). Render is usually faster and more accurate for professional review.
- Prepare a small test pair — a simple object with clear depth cues — and export it as side-by-side at the target display’s native stereo resolution.
- Preview the test pair in the Spatial Display Simulator or the SBS player to confirm the pair is aligned and readable.
- Run the pair through the Content-to-3D Path Checker to confirm the file will play on the intended display.
- If the team is still evaluating which display fits the workflow, the Ask Before Ordering page is the right starting point for a pre-purchase conversation.
Creating stereoscopic images is a repeatable workflow once the source is stereo and the output layout is confirmed. The rest is validation, then review.
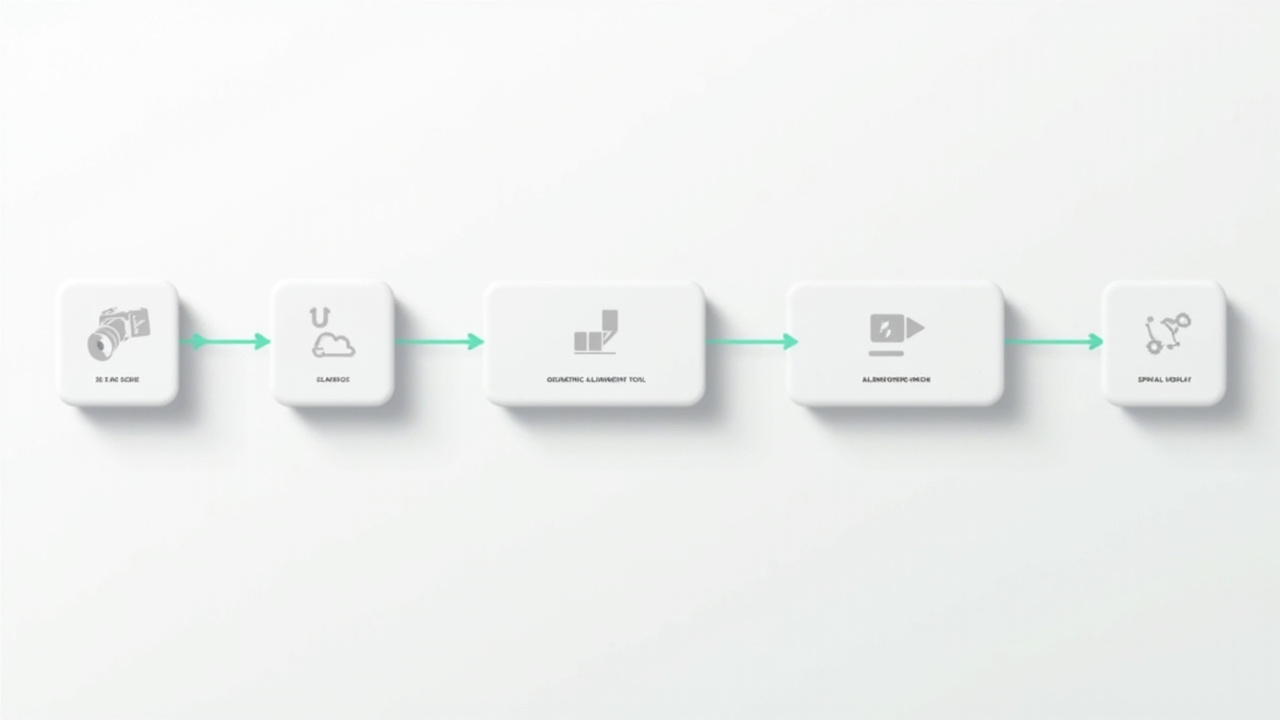
A typical stereoscopic image workflow: produce a stereo pair from a real scene or 3D scene, align and export as side-by-side, validate in a player, then deliver to a glasses-free spatial display.