
3D Screens: Technical Explainer
3D screens are displays engineered to present stereoscopic depth to the viewer without requiring VR headsets or 3D glasses. In a professional context, the term most often refers to glasses-free 3D displays built on autostereoscopic technology, where the screen itself delivers separate left-eye and right-eye views so the viewer perceives real depth at a normal monitor-style working distance.
For teams evaluating medical visualization, industrial inspection, CAD review, microscope collaboration, and professional demonstration workflows, understanding how 3D screens actually generate depth is essential before committing to a hardware path. This explainer outlines the core technical concepts, the optical approaches in use, the content compatibility expectations, and the workflow-fit considerations that 3DV applies when positioning glasses-free 3D spatial displays for professional review teams.
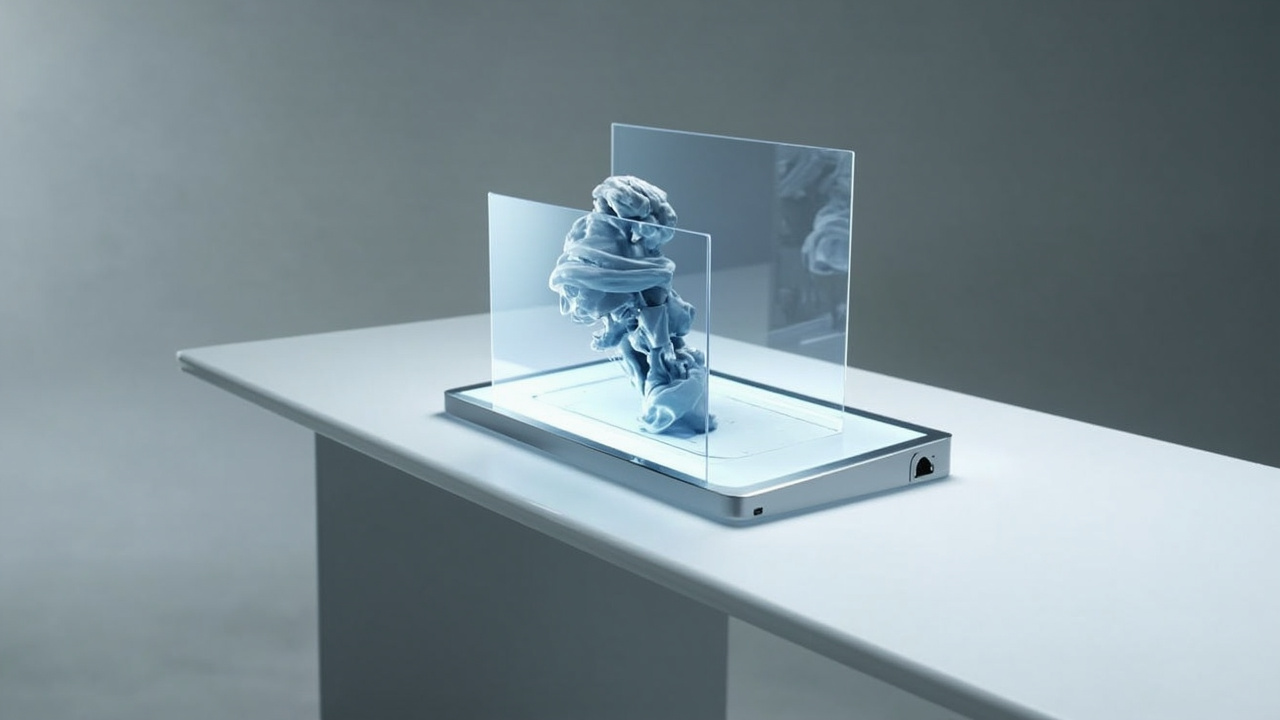
3D screens present stereoscopic depth without glasses, headsets, or wearables.
What Are 3D Screens
A 3D screen is a display that presents two slightly different perspectives of the same scene, one intended for the viewer’s left eye and one for the right eye. The brain fuses those two perspectives into a single depth perception, the same way it interprets the real world.
The defining feature of a 3D screen, as opposed to a conventional 3D television or VR headset, is how those two views are delivered:
- Glasses-based 3D systems rely on active-shutter or passive-polarized eyewear to filter left and right views.
- Autostereoscopic 3D screens deliver those views through optical structures built into the panel, with no eyewear required.
- Holographic and light-field displays attempt to reconstruct wavefronts for true volumetric perception; they are related concepts but distinct architectures.
In the 3DV product context, 3D screens map directly to glasses-free 3D spatial displays. The screen handles the stereo separation, eye tracking, and view mapping so the viewer can work at a desk, around a shared bench, or in a meeting room without headgear.
How 3D Screens Produce Depth Without Glasses
Glasses-free depth depends on three coordinated layers:
- Stereo source content. Two views are rendered or captured as left-eye and right-eye perspectives. Common formats include side-by-side (SBS) stereo, quad-buffered OpenGL stereo output, and multi-view renders.
- Optical steering layer. A microlens array, lenticular layer, or parallax barrier directs specific pixels toward each eye. The viewer sees the correct view from the correct angle without wearing anything.
- Eye tracking and view mapping. A built-in sensor locates the viewer’s eyes, and display-side processing updates the steered view in real time so the sweet spot follows the viewer as they move.
This combination is what makes 3D screens feel like a normal monitor with depth rather than a headset experience. The viewer can glance away, shift seating position, or share the screen with a colleague, and the display continuously recalculates the optimal stereo projection.
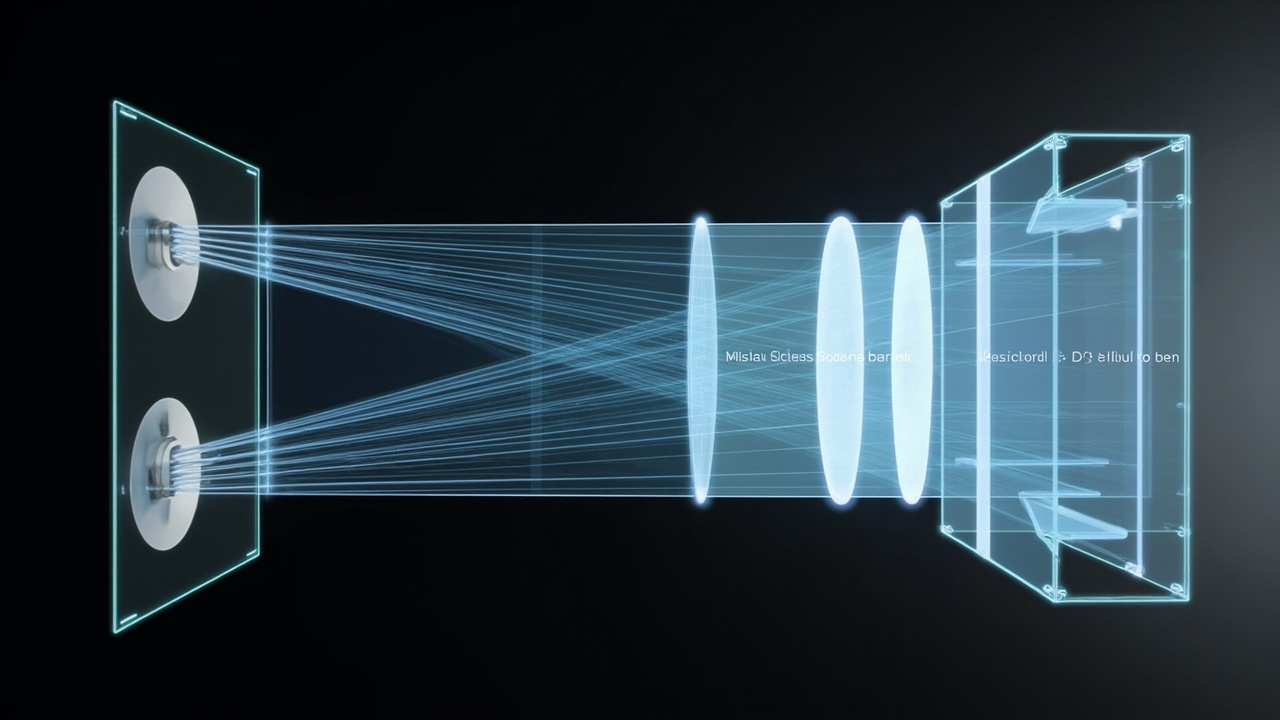
Core optical approaches used in 3D screens: parallax barrier versus lenticular layering.
Core Optical Approaches Used in 3D Screens
Several optical approaches are used across the 3D screen category. Each has implications for brightness, resolution, viewing zones, and content handling:
- Lenticular 3D display. A lenticular lens layer sits in front of the LCD. Pixels are interlaced under cylindrical lenses so multiple views are projected in different directions. This is the most common architecture in current autostereoscopic 3D screens, including the Spatial 3D Displays documented in the 3DV product system.
- Parallax barrier display. A precision barrier layer blocks or passes light so each eye sees only its intended view subset. Barriers are easier to manufacture but typically trade brightness and viewing freedom for design simplicity.
- Multi-view and light-field screens. Some screens project several simultaneous views, trading native 2D resolution per view for wider viewing freedom or head-motion tolerance.
For buyers comparing 3D screens, the practical differences tend to show up in:
- Native resolution per eye once the pixel interlacing is applied.
- Brightness and cross-talk between views.
- Whether 2D mode is preserved at full resolution for everyday office work.
Eye Tracking and Dynamic View Mapping
Eye tracking is the layer that turns a fixed-optics 3D screen into a usable workstation. Without it, the sweet spot is narrow and the viewer must hold their head still. With it, the display follows the viewer’s eyes through small head and body movements.
In a typical 3DV-style Spatial 3D Display architecture:
- Structured-light sensors detect the viewer’s eye positions.
- Display-side FPGA processing updates the view mapping on every frame.
- The left-eye and right-eye views are realigned continuously so depth remains stable as the viewer shifts position.
This dynamic mapping is also why content compatibility matters. If the source can output stereo, the display can route the correct views to the correct eyes. If the source is a flat 2D feed, no amount of eye tracking will add depth.
Content Compatibility for 3D Screens
3D screens perform best when the source content is already stereo-ready. Before evaluating hardware, buyers should check what their software can output. Common fit-for-use cases:
- Strong fit. Side-by-side stereo video, CAD and 3D model viewers with stereo output, Unity or Unreal scenes with stereo camera rigs, medical viewers that export stereo views, and WebGL pipelines designed for stereoscopic rendering.
- Works with preparation. Standard 2D video can be remapped into SBS for some workflows, but it will not gain real depth.
- Limited fit. Single-view 2D applications, software that locks to a flat output buffer, and static 2D images.
If a workflow cannot produce stereo or 3D-ready content, a 3D screen will not deliver the depth experience. Buyers in this position should treat content readiness as the first gating step.
Workflow Fit: Where 3D Screens Add Value
3D screens are professional review tools, not consumer entertainment devices. They are best understood by the review scenarios they support.

Content compatibility and workflow fit: stereo sources routed through a 3D screen for review.
Common fit-for-use scenarios:
- Medical visualization and anatomy review. Volumetric data, CT, MRI, and DICOM-derived visualizations gain depth cues that help teams read structure and spatial relationships.
- Industrial inspection and NDT. Defects, inclusions, and geometry inside scanned parts read more clearly when the viewer can perceive true depth instead of relying on rotation cues alone.
- CAD and design review. Teams can review 3D models side-by-side without entering a VR headset, keeping a monitor-style workflow intact.
- Microscope collaboration. Glasses-free 3D microscope displays allow shared observation in teaching, review, and lab settings where headsets would be impractical.
- Demonstration and showroom contexts. Showrooms, museums, and event spaces benefit from 3D screens that do not require visitors to wear gear.
For each of these, the consistent value proposition is shared, glasses-free depth in a monitor-style workflow.
Limits and Trade-offs of Current 3D Screens
A 3D screen is not the right tool for every job. Honest fit-for-use framing requires acknowledging current limits:
- Resolution per eye is lower than the panel’s native 2D resolution because pixels are split between left and right views.
- 2D mode on the same screen may be slightly softer than a dedicated 2D monitor, particularly on entry-level implementations.
- Stereo source content is required. A 3D screen does not invent depth from flat 2D sources.
- Viewer count is typically optimized for a single primary viewer at a time, though some architectures support broader shared-viewing zones.
- Touch interaction is not a current feature of 3DV Spatial 3D Displays. Teams that need interactive touch workflows should look at separate Interactive Technology products rather than assume it on a Spatial 3D Display.
- Viewer comfort depends on correct eye-tracking calibration and a reasonable viewing distance.
Buyer-Guide Checklist for Choosing a 3D Screen
When evaluating 3D screens for a professional deployment, a buyer-guide frame keeps the focus on workflow fit rather than abstract specifications:
- Confirm content compatibility. Can your software export stereo, SBS, or 3D-ready output today?
- Define the primary viewer distance. Is the screen used at a single desk, in a shared lab, or in a meeting room?
- Decide between Pro and Essential. Pro models favor buyers who frequently switch between high-quality 2D and 3D review. Essential models fit dedicated 3D review stations.
- Match the panel size to the room. Larger displays suit dedicated 3D rooms, labs, showrooms, and classrooms. Compact displays suit dedicated review setups.
- Plan for 2D fallback. Confirm the display preserves usable 2D mode for everyday office work between review sessions.
- Validate eye tracking range. Check the supported head-motion range against the way your team actually works.
- Use the pre-purchase support path. Ask-before-ordering and the display selector flow help confirm fit before committing to a model.
Next Steps and Official Resources
Teams ready to evaluate 3D screens against a real workflow should:
- Run content through the Content-to-3D Path Checker to confirm whether the existing pipeline is stereo-ready.
- Test side-by-side material on the Spatial Display Simulator or through the 3DV Spatial Player.
- Compare the current Spatial 3D Display model lineup against the typical 3D review station profile.
- Use the display selector or ask-before-ordering route for direct pre-purchase guidance.
For adjacent technical reading, the Autostereoscopy glossary and the Lenticular 3D Display explainer provide useful supporting depth on the optical and terminology foundations referenced here.